Introduction
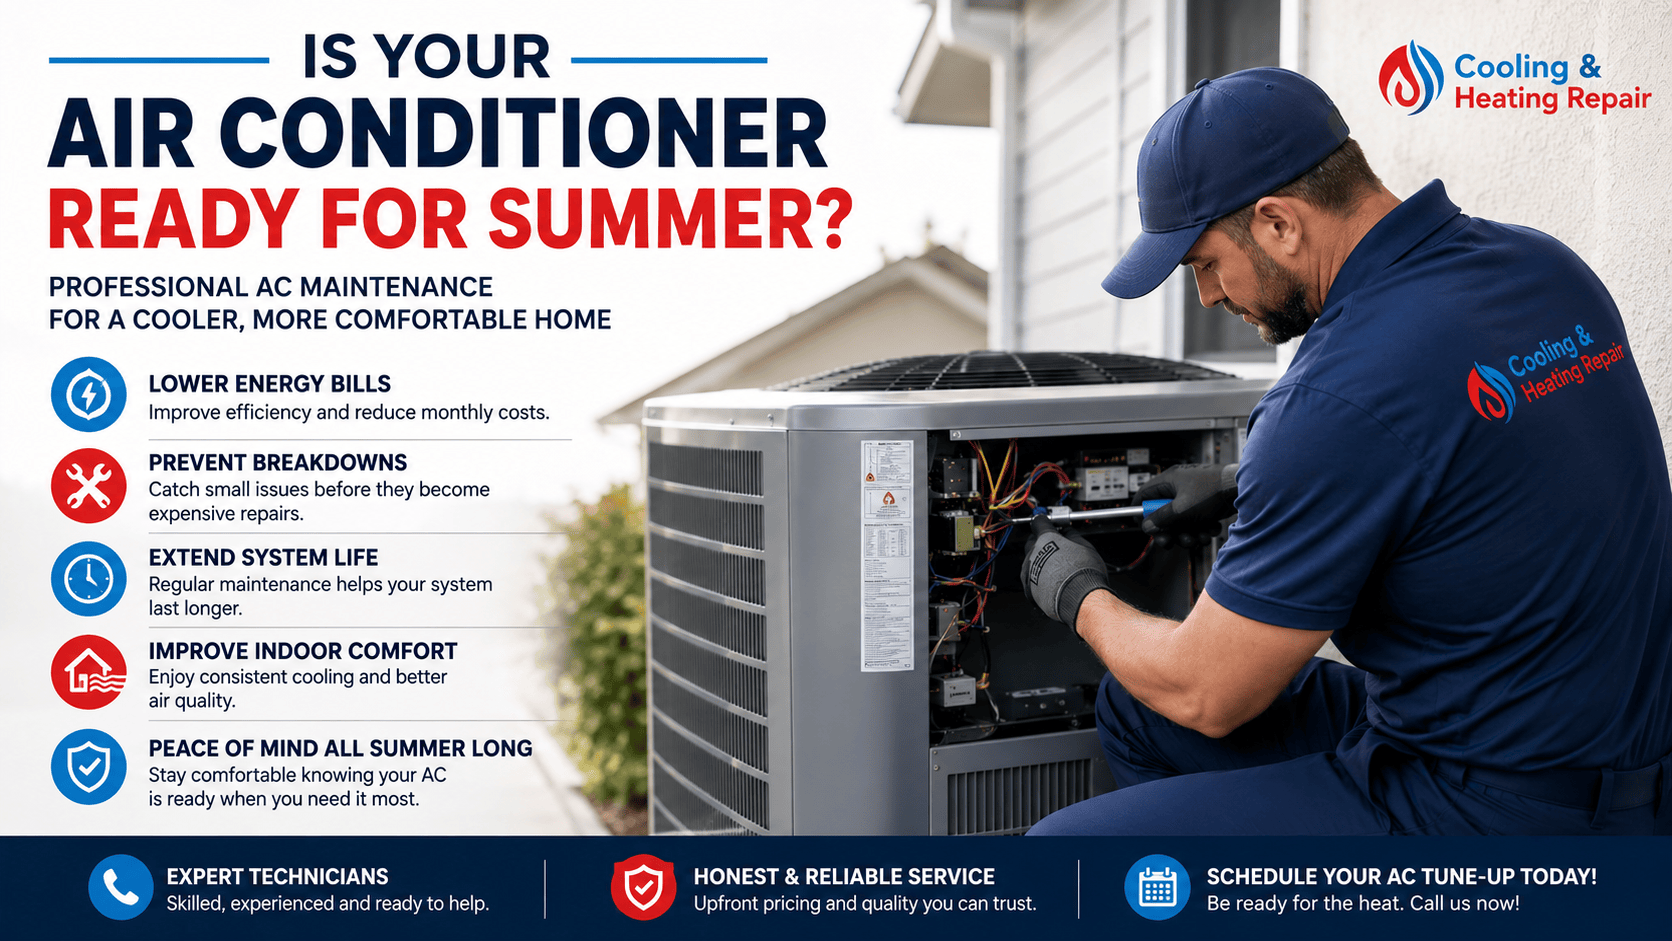
Summer puts extra demand on cooling systems. A proactive maintenance routine can improve comfort, reduce energy use, and prevent surprise breakdowns when you need cooling most. This guide provides practical, homeowner friendly steps to prepare your AC for the season without unnecessary risk or expense.
Safety comes first
Before you touch any component, turn off power to the system. This usually means switching the breaker labeled for the air conditioner or, if your unit is easily accessible, unplugging the outdoor condenser when possible. If you are unsure about electrical safety or you encounter frayed wiring, call a licensed technician. When inspecting or cleaning, wear eye protection and avoid using high pressure cleaners on delicate components.
Indoor unit preparation
Replace or clean the air filter
The filter protects the system and the indoor air. A clogged filter makes the unit work harder and can reduce cooling performance. Replace disposable filters according to the manufacturer’s guidance, commonly every 1 to 3 months, and more frequently if you have pets or high dust levels. If you use a reusable filter, clean it according to the product instructions and dry it fully before reinstalling.
Inspect and clean accessible parts
With the power off, remove the access panel on the unit if you know how to do so safely. Use a vacuum with a brush attachment to remove dust from the blower wheel and surrounding area. Wipe down surfaces with a damp cloth and mild soap if needed. Do not spray liquids directly into electrical components or control boards. Reassemble the panel securely when finished.
Outdoor unit preparation
Clear space and debris
The outdoor condenser should have unobstructed airflow. Clear leaves, grass, and debris from around the unit and keep at least 2 to 3 feet of clearance on all sides, with 5 feet of clearance above the unit if possible. Trim nearby plants and avoid storing items near the condenser that could shade or restrict airflow.
Clean the condenser fins and coils
Over the winter, fins can bend and coils can gather dirt. Gently remove loose debris with a soft brush. For more thorough cleaning, use a garden hose on a gentle spray from the inside out (not directly against the fan or coils). Avoid high pressure washing, which can bend fins and cause damage. If fins are bent, a fin comb can straighten them carefully following the tool’s instructions.
Check for visible damage
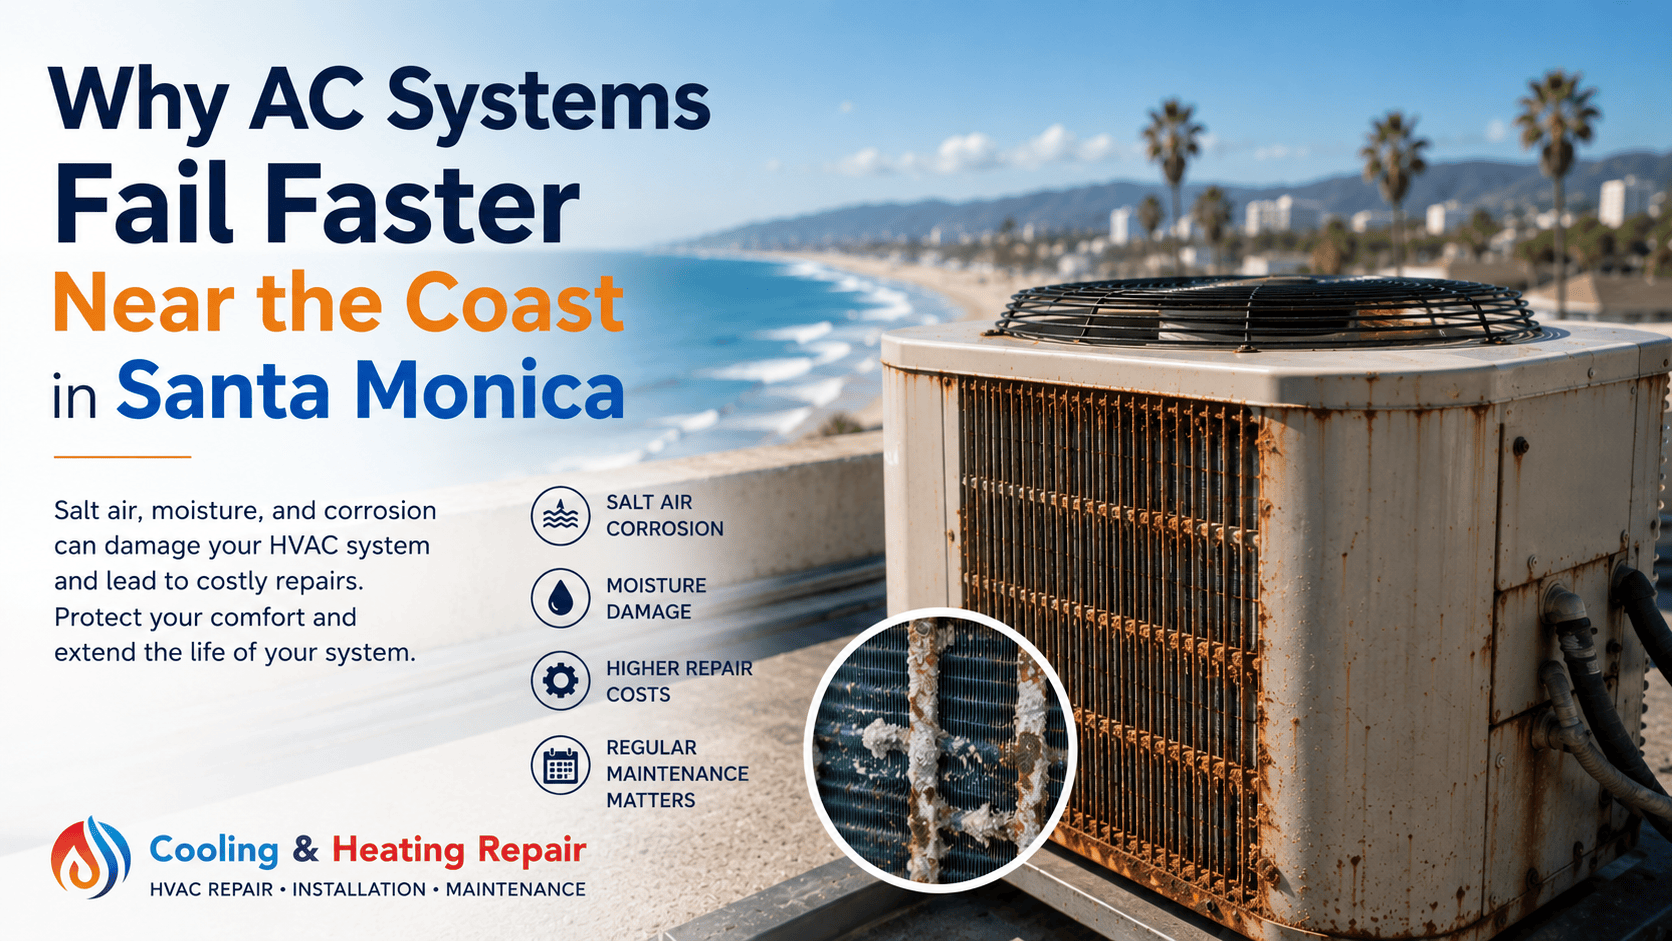
Look for signs of oil leaks, loose electrical connections, or damaged insulation on refrigerant lines. Do not attempt to repair refrigerant lines yourself. Any sign of oil, hissing, or refrigerant odor warrants a professional HVAC technician call.
Drainage and condensate line
Test the condensate drain
Proper condensate drainage prevents water damage and mold growth. Locate the condensate line and pour a small amount of water through the outlet to confirm it drains freely. If you notice slow drainage or standing water in the drain pan, clear the line gently with a wet/dry vacuum or a non-corrosive cleaning solution recommended by a technician. Do not use harsh chemical cleaners that could damage the line.
Inspect the condensate pan and overflow safety
Check the condensate pan for cracks or corrosion and ensure the overflow switch (if present) is functional. A working overflow switch can prevent water from backing up into the home.
Thermostat and air distribution
Optimize thermostat settings
Set the thermostat to a comfortable baseline, typically around 74 to 78 F when people are at home and awake. Use a programmable or smart thermostat to adjust temperatures automatically when you are away or sleeping, reducing energy use without sacrificing comfort. If you have a multi-zone system, ensure each zone is balanced and that dampers or zoning controls are functioning correctly.
Fan operation and airflow checks
Let the system run in auto mode rather than on continuous fan. Continuous fan can reduce humidity control and increase energy use. If you notice poor airflow, check all registers for obstructions and ensure ducts are not kinked or blocked by furniture. For noticeable airflow issues, a professional assessment may be needed to check ductwork integrity and sealing.
When to call a pro
Situations that require professional service
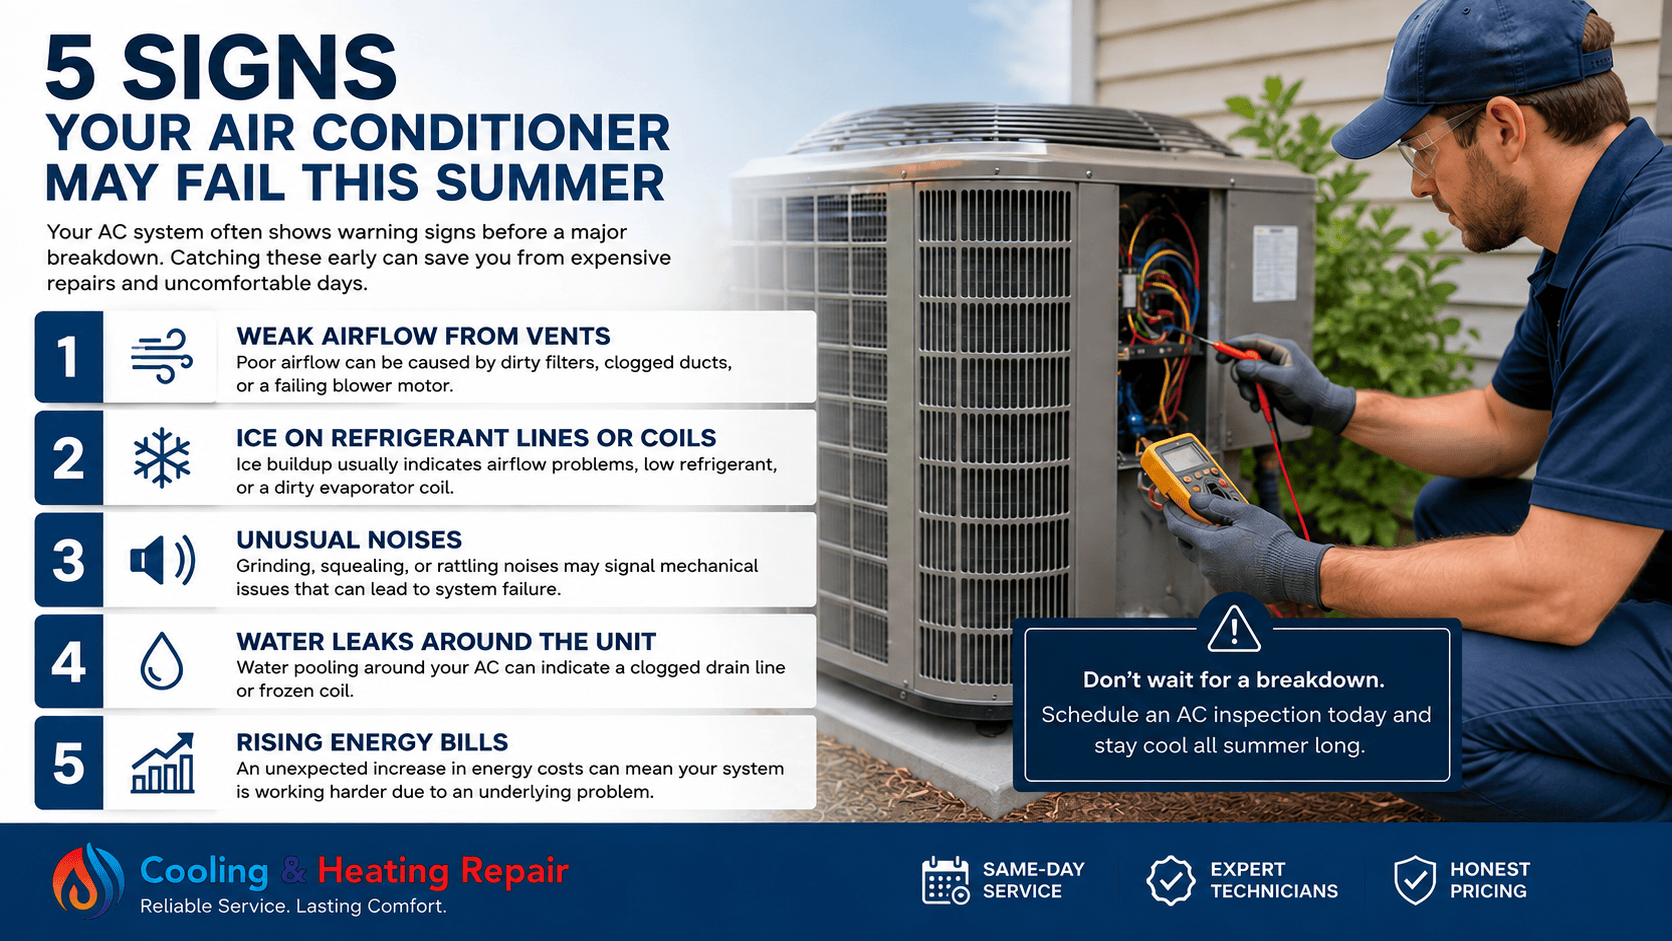
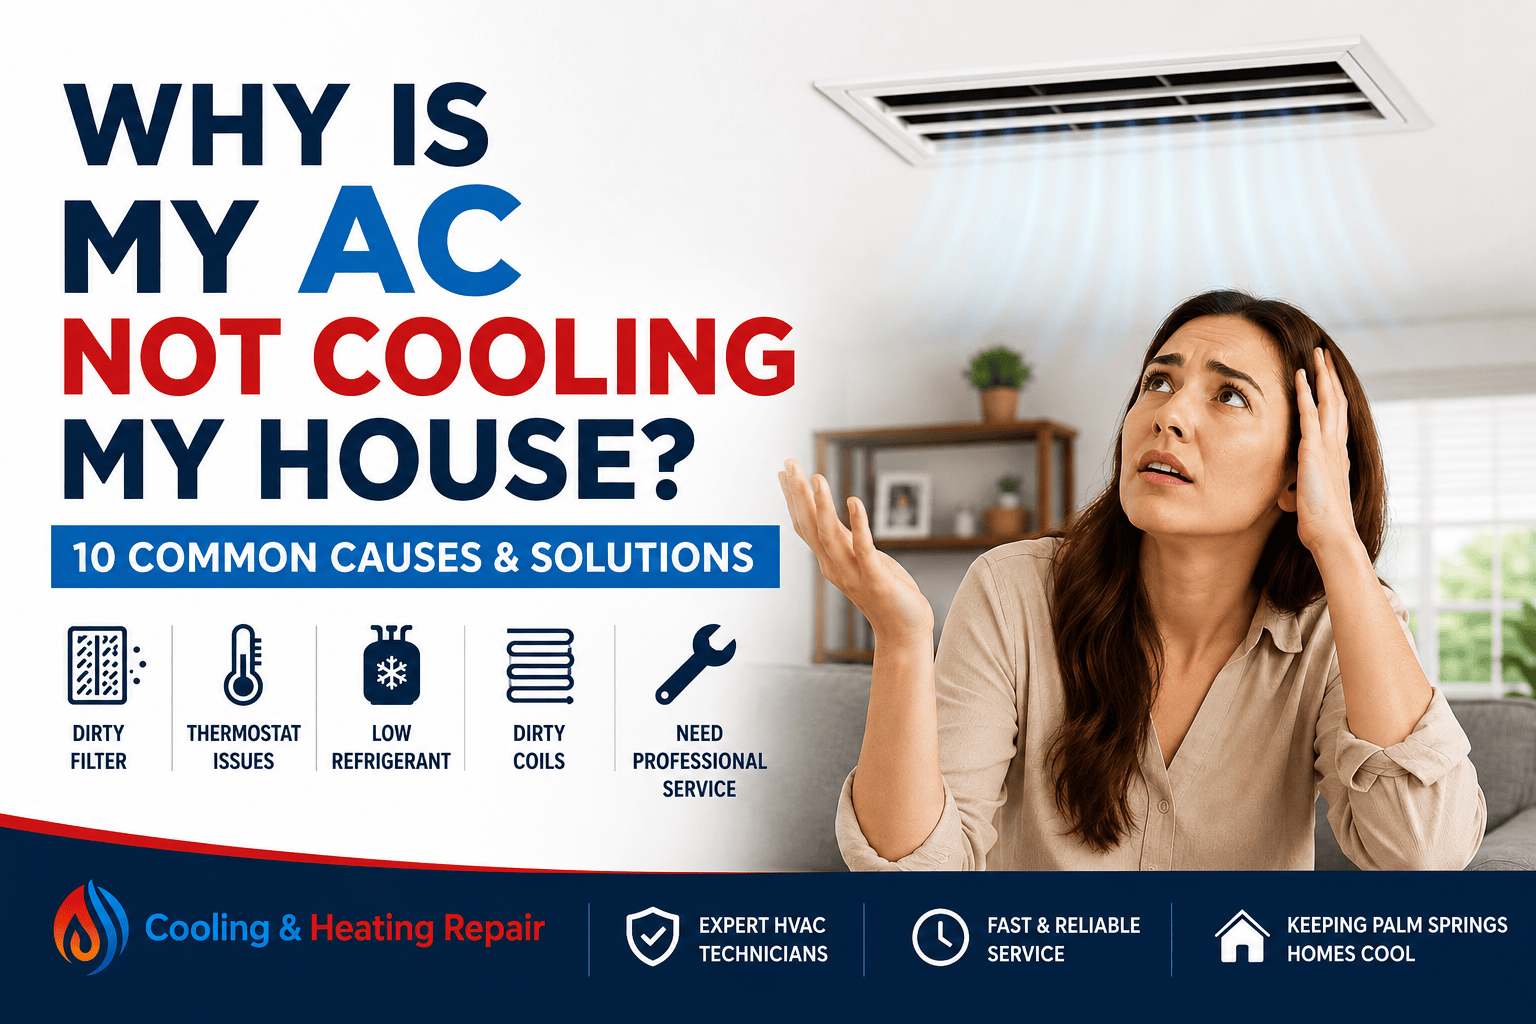
- AC is not cooling adequately despite a clean filter and proper thermostat settings.
- You hear unusual noises, such as grinding or banging, or you smell burning or chemical odors.
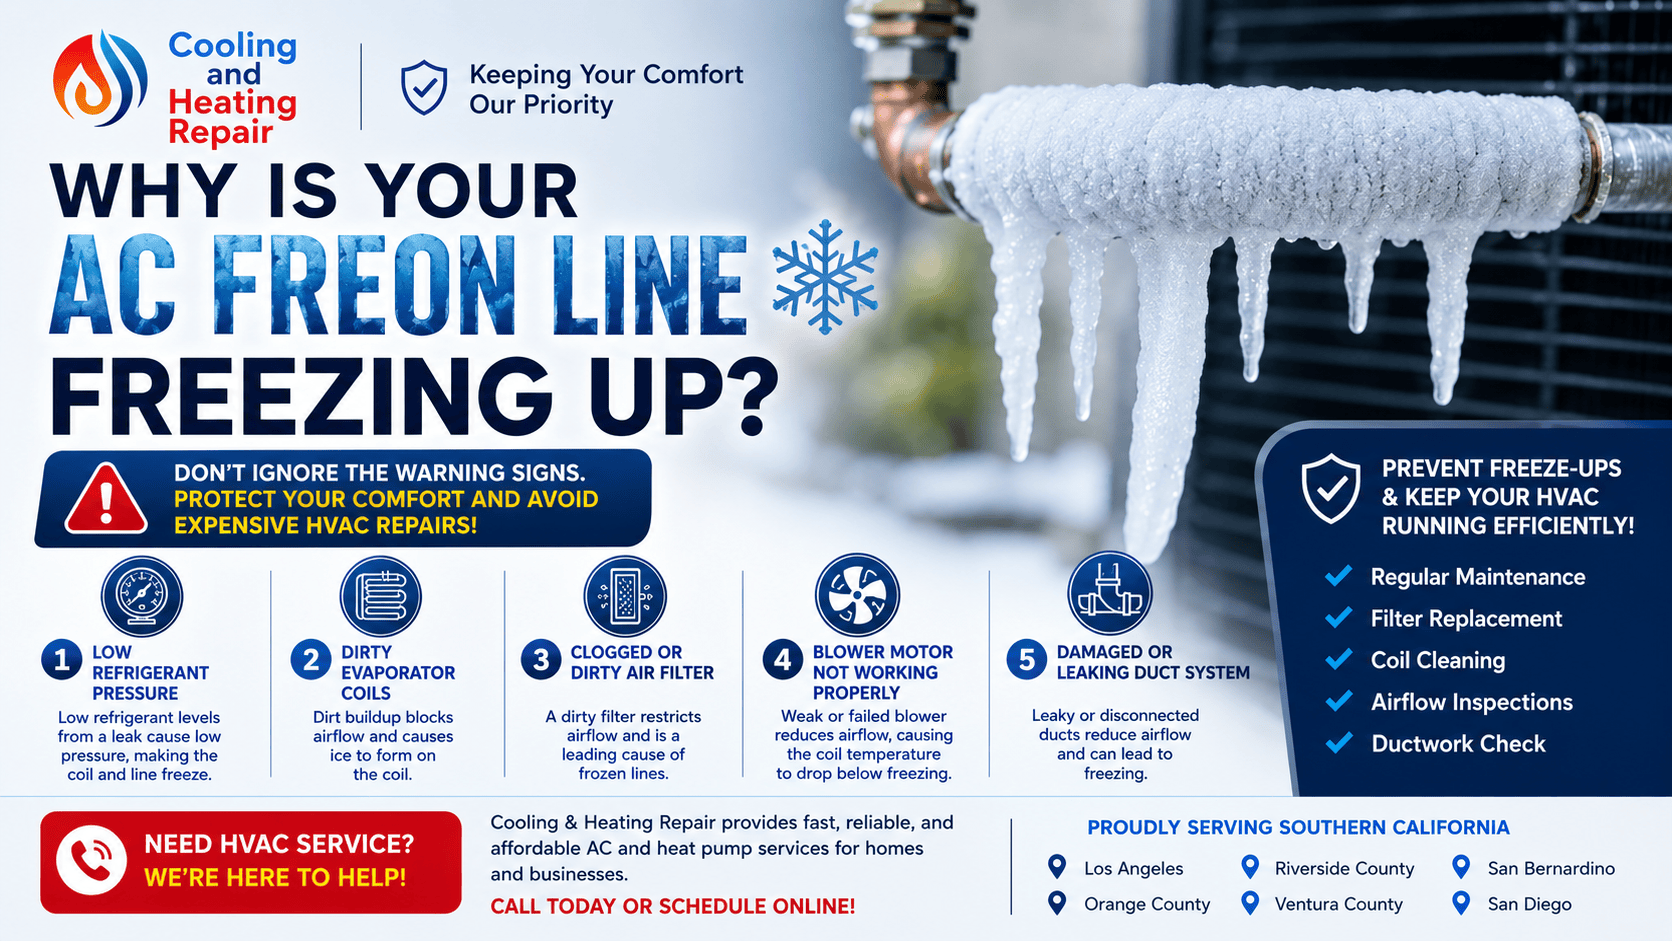
- There is ice on the refrigerant coil or the outside unit is excessively warm or not coming on at all.
- There are signs of refrigerant leaks, such as oily spots on lines or hissing noises near the outdoor unit.
- You notice water leaks inside the home or persistent drainage problems.
Low refrigerant, electrical issues, and significant duct leaks should always be addressed by a licensed technician. Do not attempt to recharge refrigerant or perform electrical work beyond basic safety checks.
Maintenance schedule and ongoing care
Seasonal tasks to perform
- Replace or clean filters every 1 to 3 months as needed.
- Clean indoor components and check for air leaks at the start of every cooling season.
- Inspect the outdoor unit before summer and after heavy storms or seasonal debris.
- Test the condensate drain and pan annually to prevent water damage.
- Schedule a professional inspection every 1 to 2 years, or annually for high-use or older systems.
Even with regular upkeep, a professional evaluation can identify refrigerant charge issues, electrical component wear, and ductwork problems that are not obvious from a homeowner inspection.
Troubleshooting quick checks
- If the air is not cooling well, start by checking the filter and thermostat settings, then ensure outdoor unit is free of debris.
- If rooms are unevenly cooled, inspect ducts for leaks or disconnections and consider sealing or insulating as needed.
- If you hear unusual noises, power off the unit and call a technician to inspect the condenser fan, motor, and compressor.
Seasonal energy-saving tips
Reduce cooling load without sacrificing comfort
- Keep blinds or curtains closed during peak sun hours to reduce heat gain.
- Improve home envelope by sealing obvious gaps around doors and windows and ensuring proper insulation in the attic and walls.
- Use ceiling fans to assist airflow and allow the thermostat to be set a bit higher while keeping comfort.
- Limit simultaneous high-energy tasks during peak demand periods to lower overall cooling load.
Efficient operation often translates to lower energy bills and longer equipment life. A well-maintained AC also runs smoother and more reliably during the hottest days.
Seasonal checklist for quick reference
- Power off the system and locate the air filter location.
- Replace or clean the indoor air filter.
- Inspect and gently clean indoor blower area if accessible.
- Clear around the outdoor condenser and remove debris.
- Inspect fins and clean coils carefully.
- Test condensate drainage and check the pan.
- Test thermostat settings and consider a programmable model.
- Schedule a professional check every 1 to 2 years depending on usage and age of the system.
Conclusion
A proactive, methodical approach to preparing your AC for summer can improve comfort, efficiency and reliability. Start with safety, then tackle indoor and outdoor components, drainage, and thermostat settings. When in doubt, or if you encounter refrigerant or electrical concerns, contact a qualified HVAC technician. A small investment in preventive maintenance now can prevent larger problems and expensive repairs later.